Spring Clean up - Time to De-clutter
Some Tips on Organizing Your Pantry
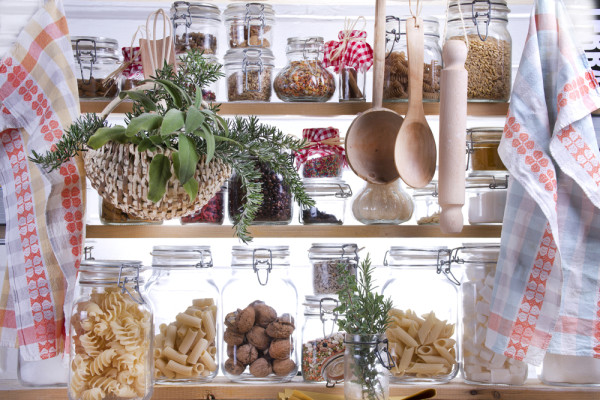 Do You have a "Dream" Pantry?
Has this ever happened to you? You know you have a can of chicken broth, but you’ve scoured your shelves twice and still can’t find it. Or, you’re in the middle of mixing up cookie dough and the brown sugar you retrieve from the cupboard resembles an actual brick. And the expiration date on the can of tuna you just pulled out was three years ago? It’s time to clean and organize the pantry. But this time, do it differently and more efficiently.
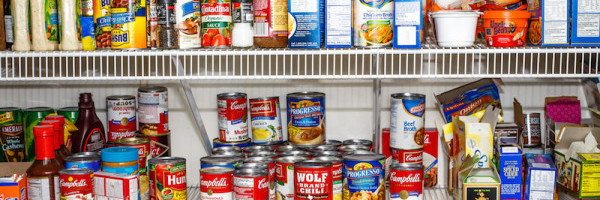 Time to get Organized
I like to divide this process into four simple-to-manage stages. When you’ve finished, you’ll have your dry and canned food readily available whenever you need to whip up a meal. No more hunting for that elusive can of beans.
Stage 1: Clear Out and Clean
Remove every can, box, bag, bottle and jar. Check for expiration or “best by” dates and toss any item that isn’t current. Trash any suspect food, as well. Donate what you’ll never use to your local food bank. Vacuum up any crumbs and give the shelves a good wash down with a warm, damp rag and dish detergent.
 Clean it Out!
Stage 2: Make Changes
Evaluate and implement ways to make your pantry more user-friendly. Install sliding shelves that pull out so you can see what’s in the back, attach a spice rack on the door, place one shelf higher than the rest for tall products, and add adjustable shelves or even additional lighting to contribute to a more efficient pantry and meal prep.
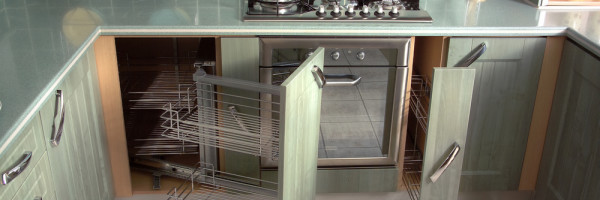 Install Your Components
Stage 3: Go Shopping
Make a list of the types and number of containers you need for maximum organization. For canned goods, consider a tiered shelf organizer that lets you see all available cans at the same time. Get rid of those bags and boxes by transferring the sugar, flour and rice to clear canisters. Staples stay fresher in sealed containers. On the floor, utilize baskets for bulk food storage, onions and potatoes. If you don’t have a spice rack, buy a turntable. While you’re out, buy any staples you either don’t have or had to toss in the cleaning phase. Make a list before you go to make your trip as efficient as possible. Here are is a generic list to get you started.
Pasta, Rice, Coconut milk, Peanut butter, Broth, Tuna, Raisins, Cereal, Salt, Peppercorns, Olive oil, Vinegar, Flour, Sugar, Baking soda, Baking powder, Cream of tartar, Cocoa, Vanilla extract, Crackers, Popcorn, Beans, Vegetables, Olives, Capers, Your favorite spices
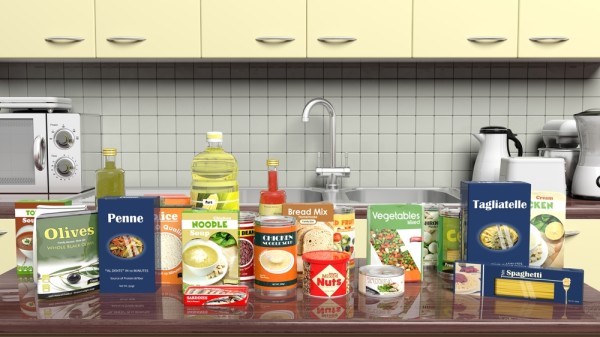 Making that List and Checking it Twice
Stage 4: Organize in Zones
You should group similar items together either by taking up an entire shelf, or a portion of that shelf. Put boxes of cereal together, spices in one place, baking ingredients in another, canned goods by themselves and smaller items in a plastic container. At eye level locate items you reach for every day. Label all storage boxes with a label maker so you can see at a glance what’s inside. One task remains; training the rest of the family to return whatever they take out to its newly assigned place.


